| Back to Index |
As is becoming standard for my How to Make weekly process, I picked something I expected to be a simple enough design to create and manufacture, which ended up being much more involved and complicated than I had anticipated.
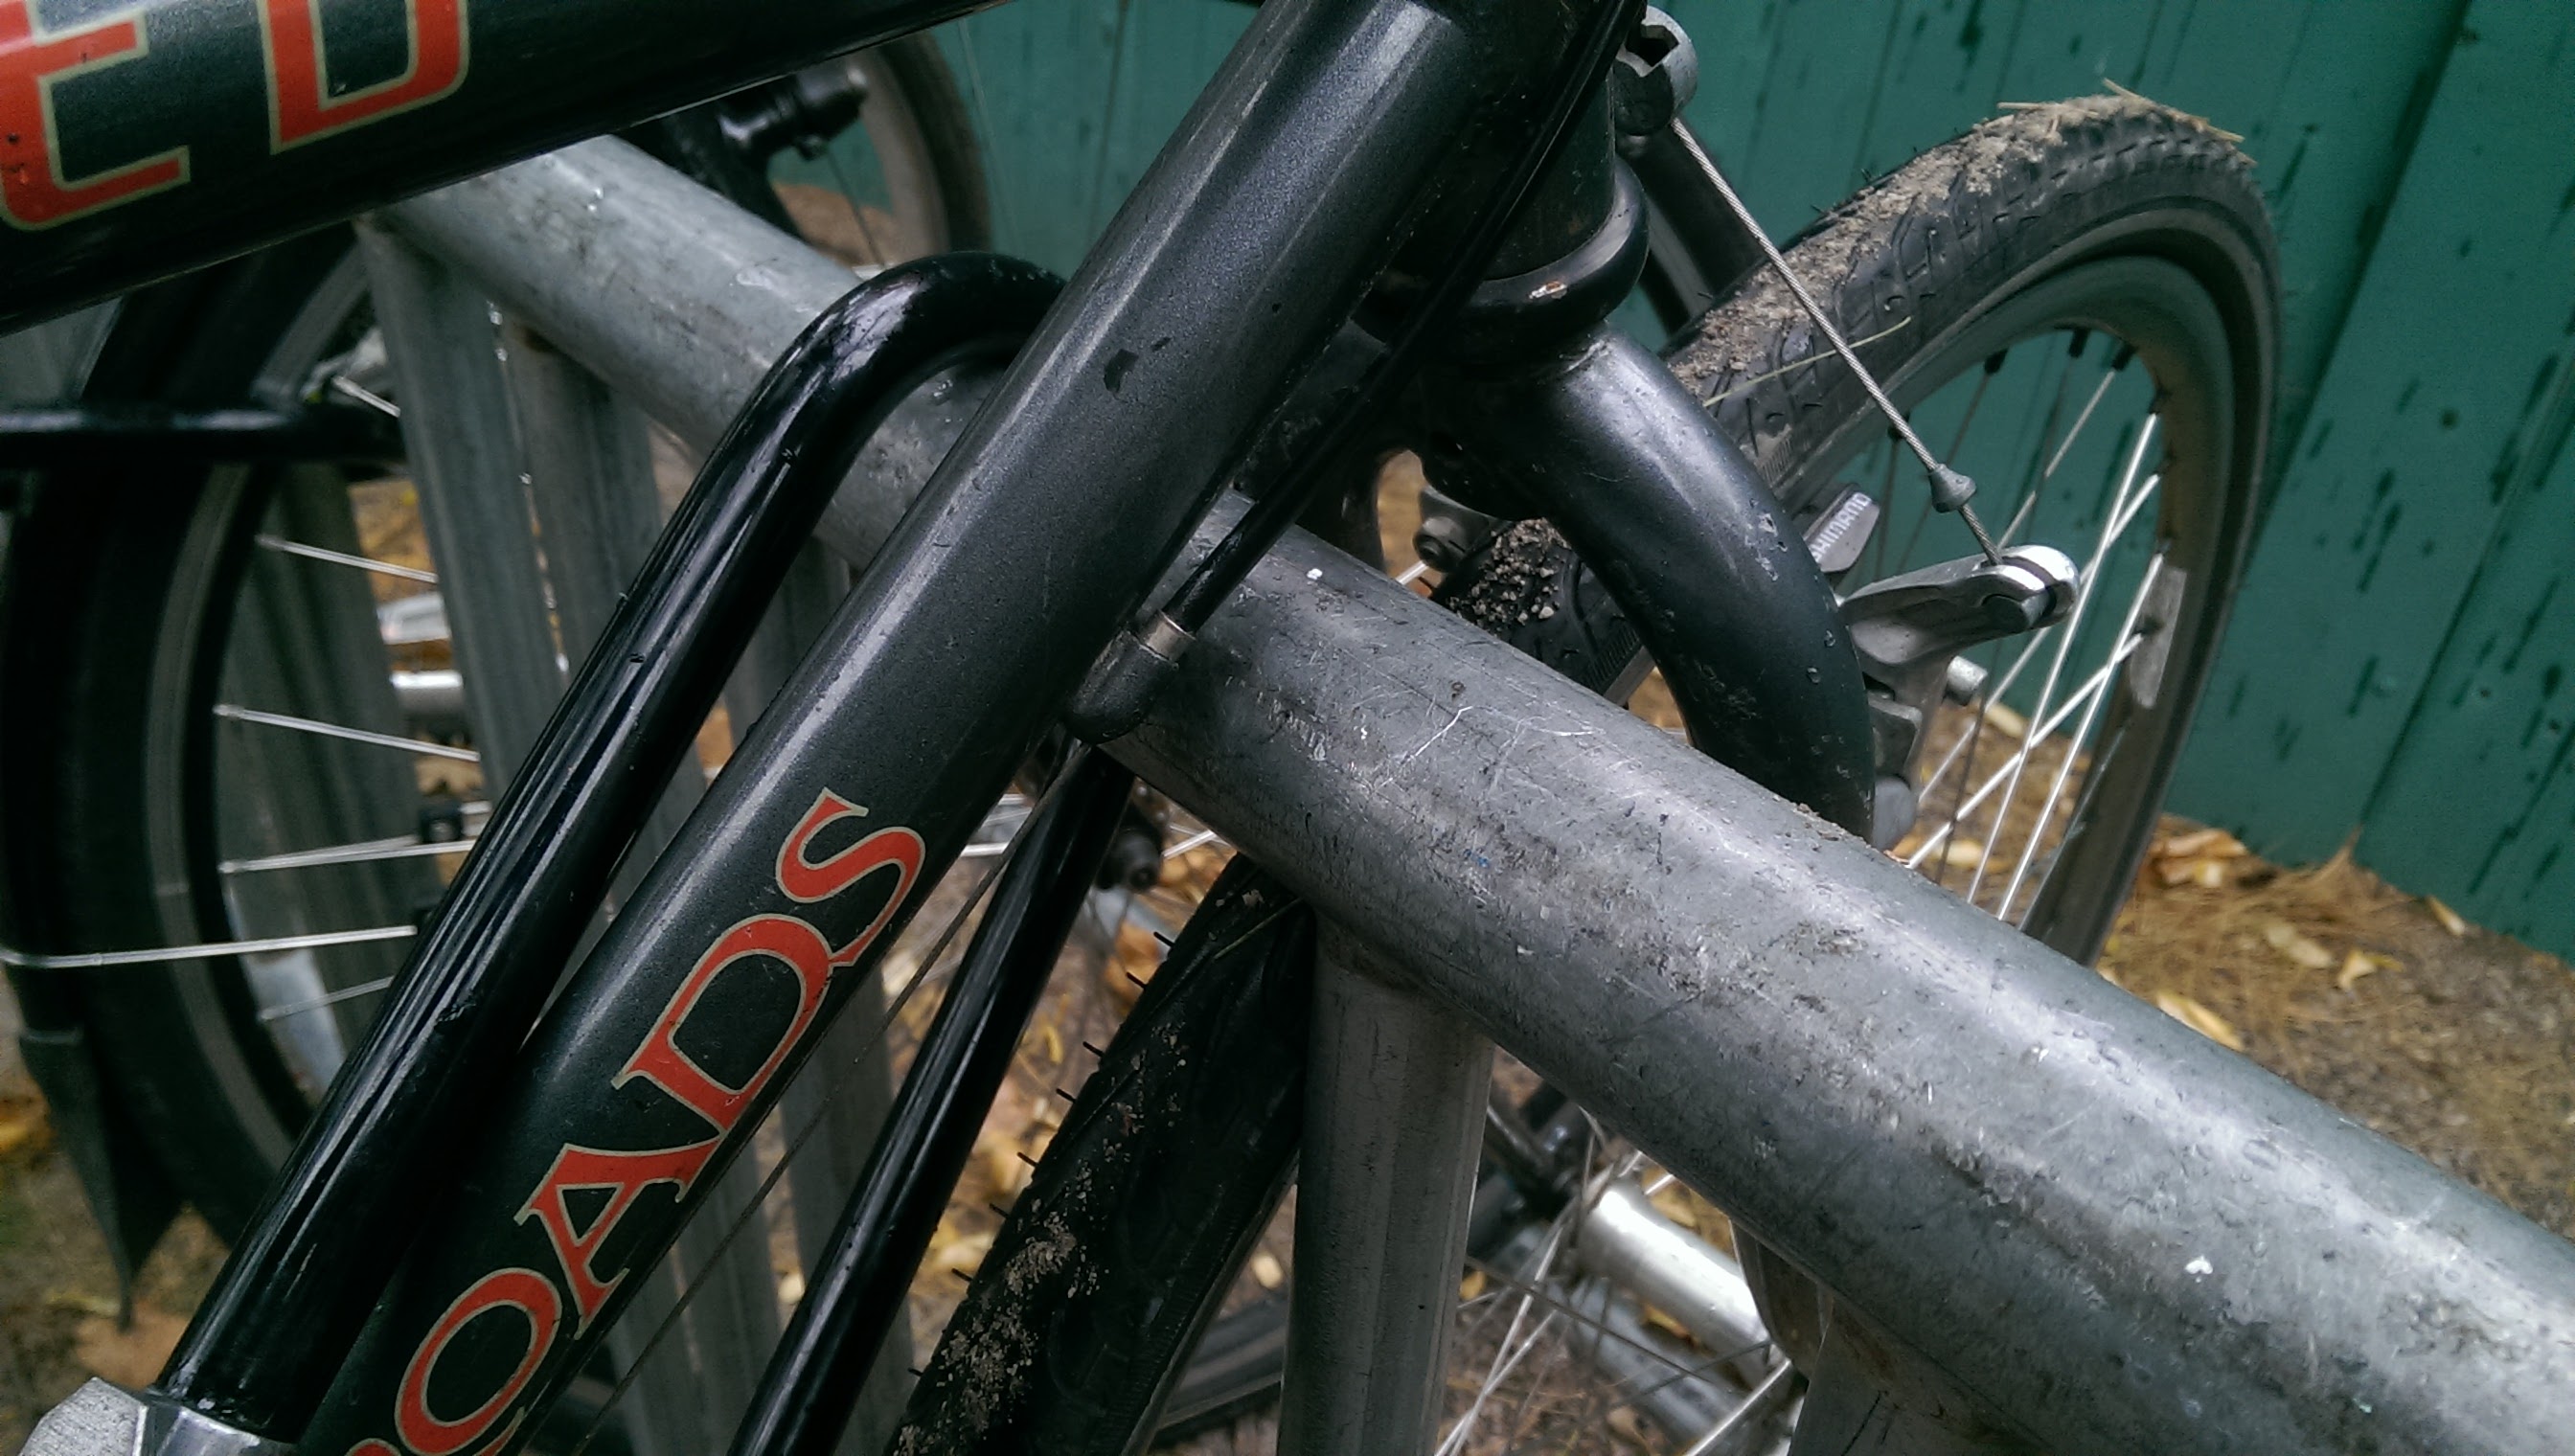
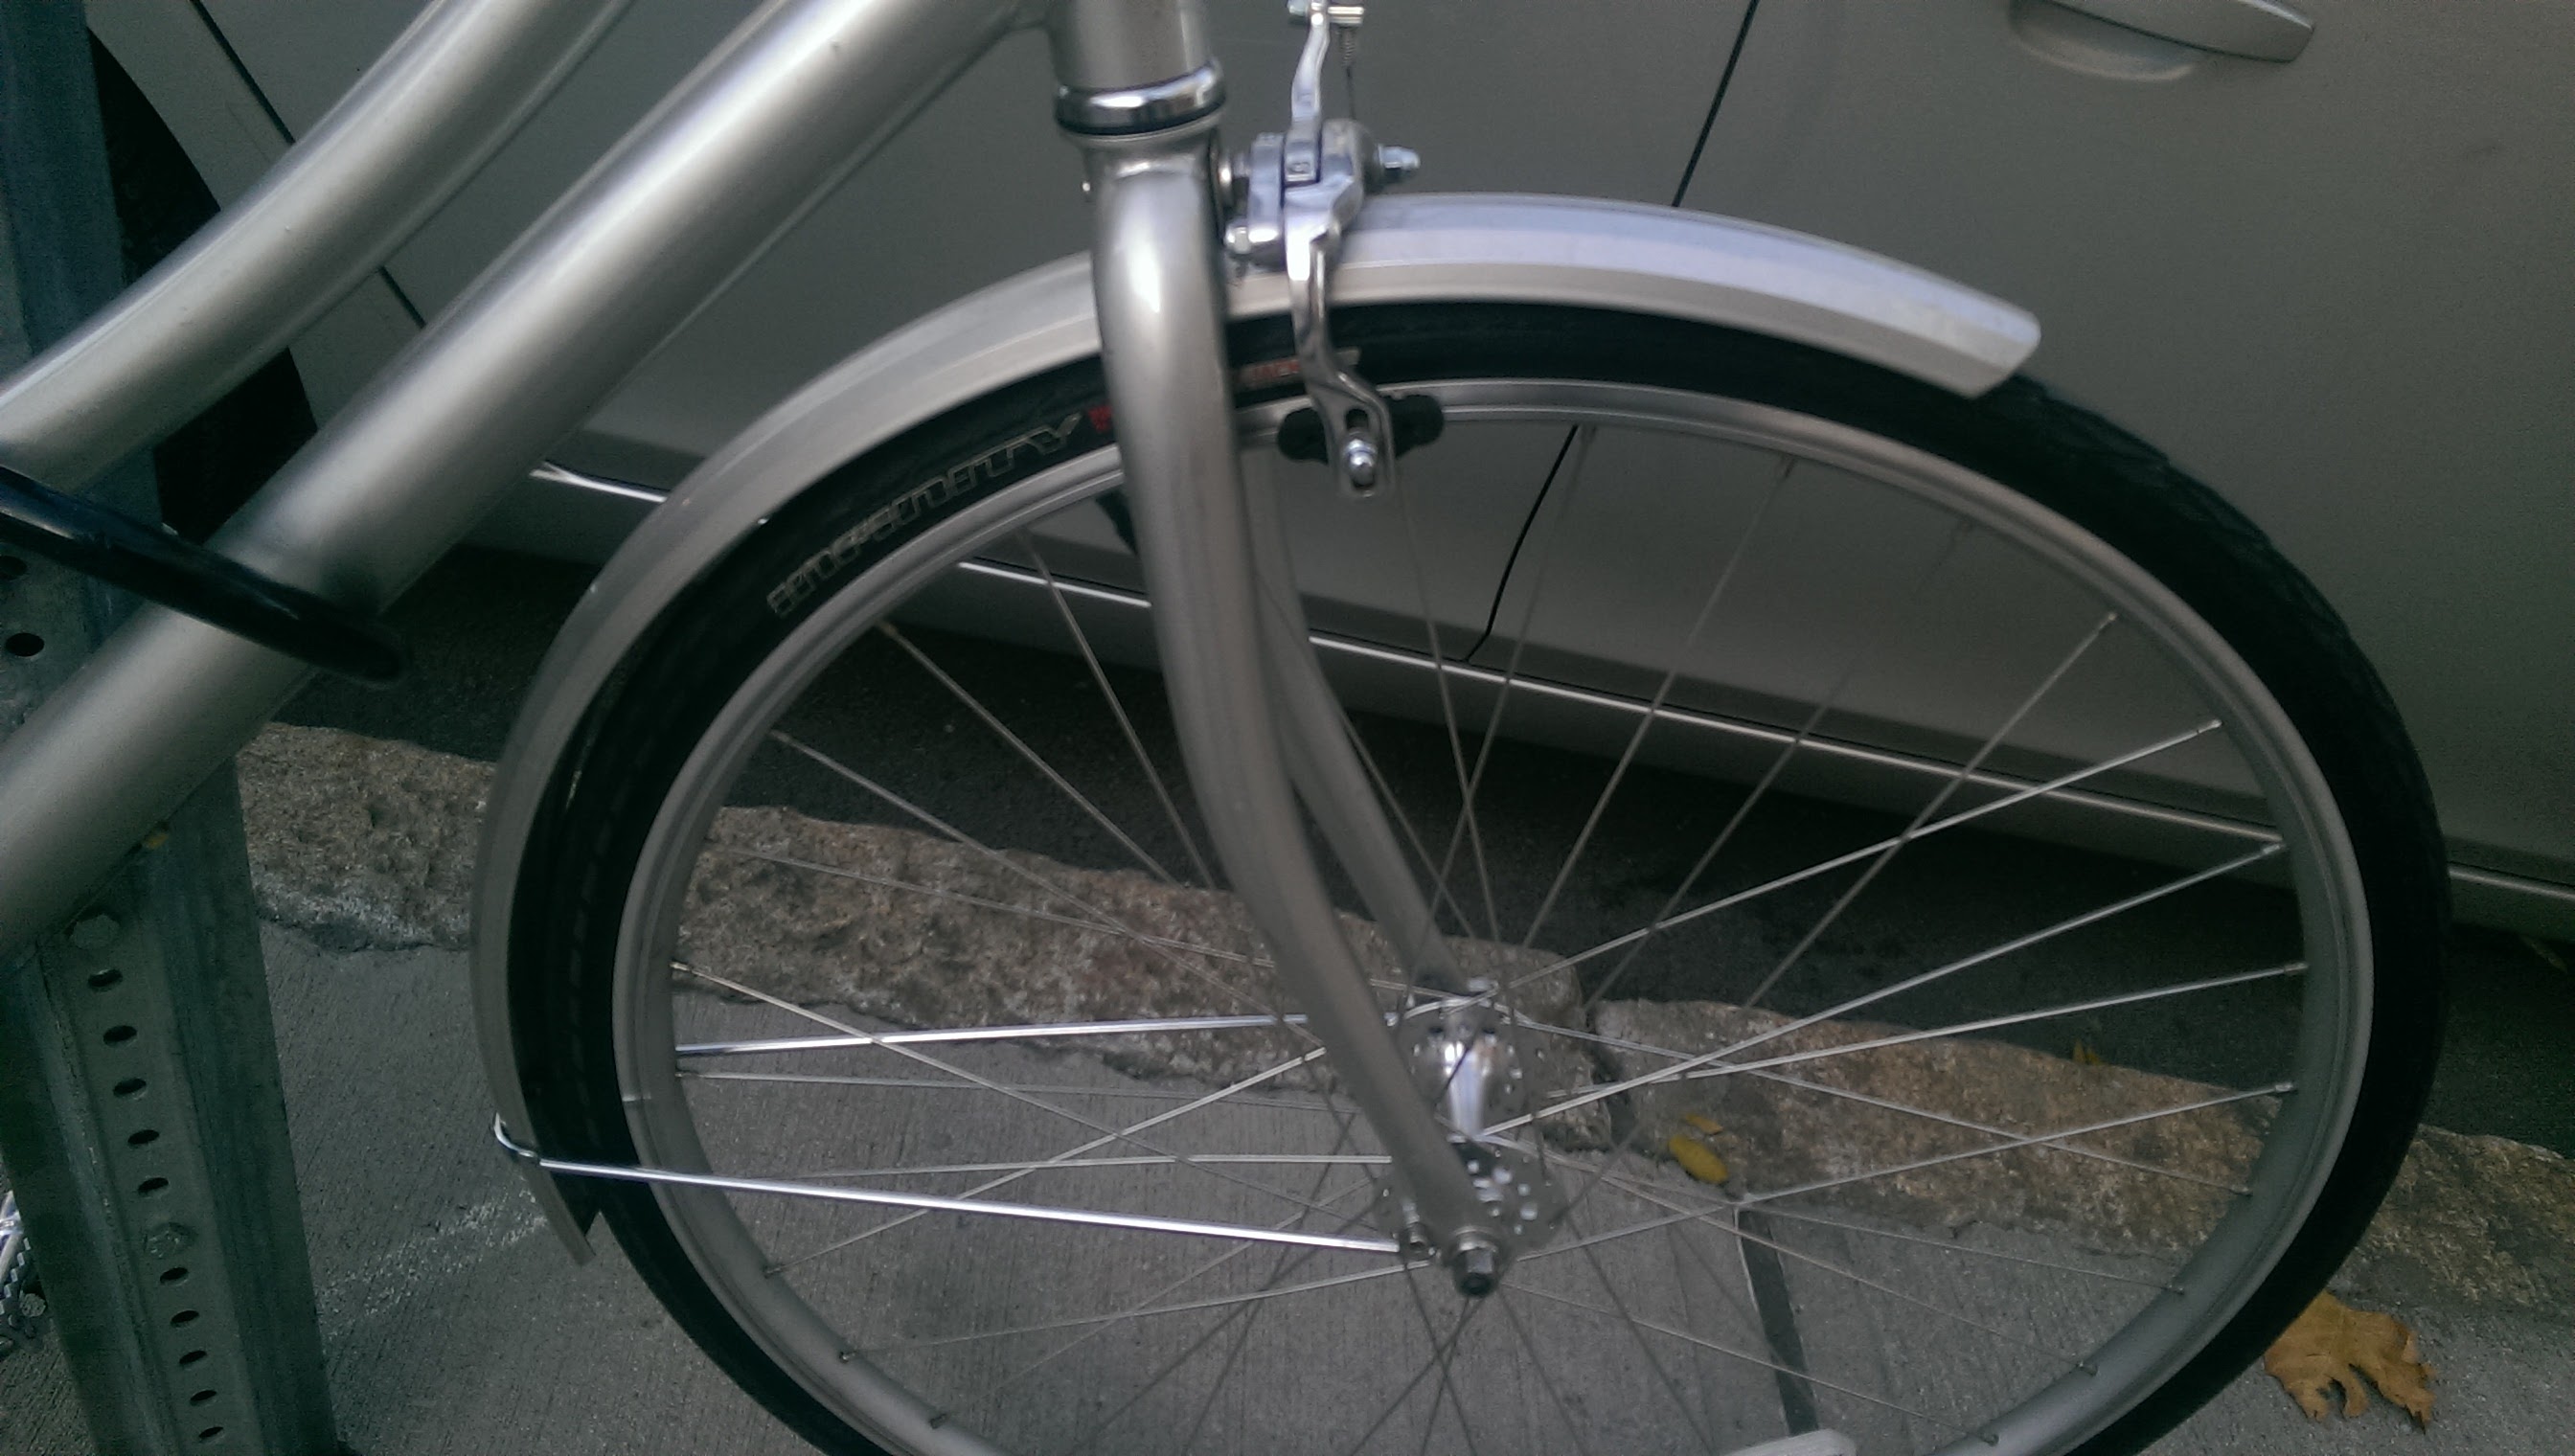
I ride my bicycle daily, and on occasion, that means I have to ride in the rain. I have a rack on the back of my bike that kind of works as a fender / rain-guard, but my front tire is exposed, launching dirty water up from the pavement and all over me. I decided it would be a worthwhile exercise to try to make a front fender for my bike.
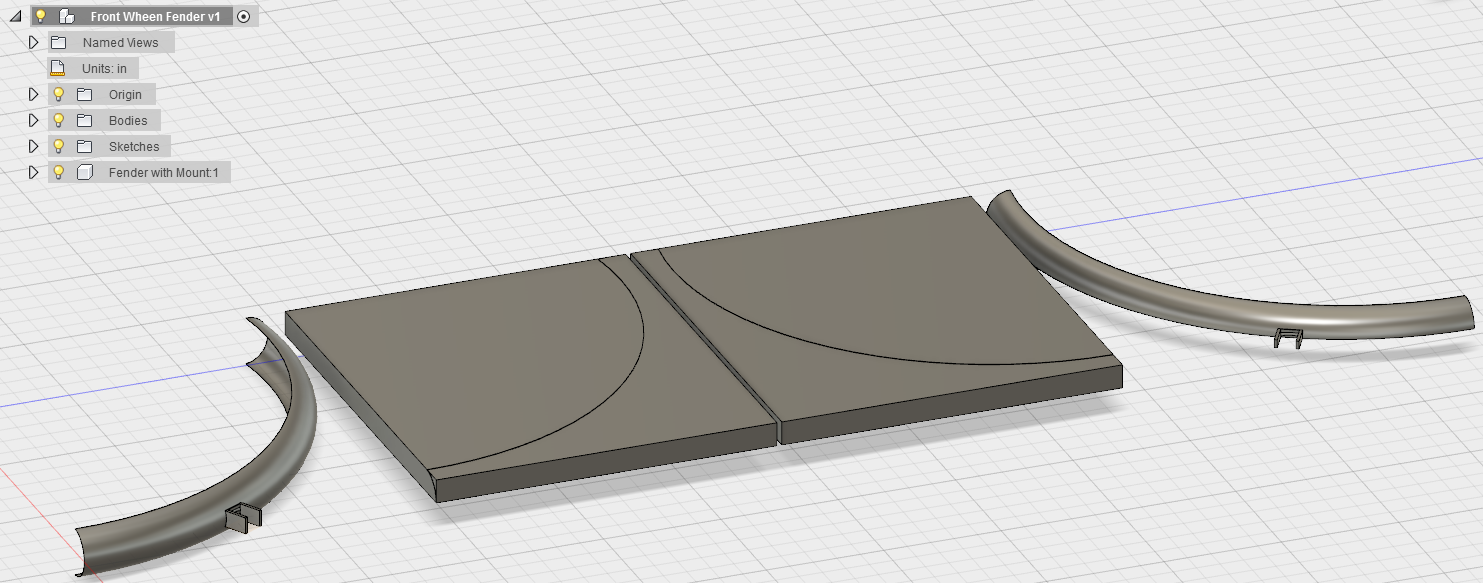
My first indication that this would be slightly more complicated than I had anticipated was that a half-tube torus covering roughly 100 degrees of my wheel would not be able to be milled out in one piece, because of the limitations of both the foam dimensions and the ShopBot's cutting depth. I therefore figured I would design the fender, slice it in half the long way, and mill it out in two halves. I'd then combine the halves to make the positive of the mold. I'd also mill out two negatives of the fender, which I would clamp over the positives to compress my composite adequately.
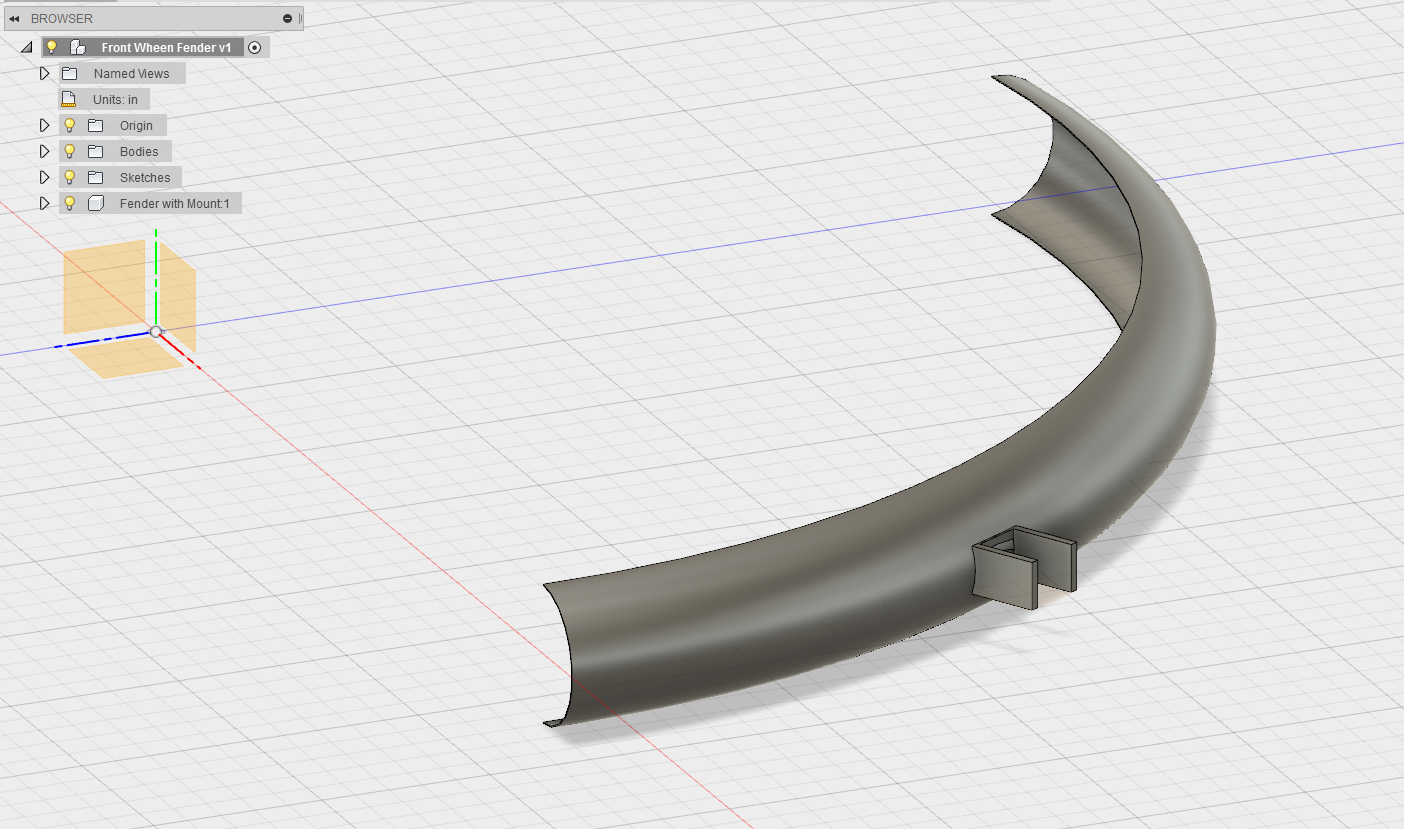
After a couple hours creating the fender virtually, I realized that I didn't need to model the fender itself, I actually needed to model the foam positive and negative that the fender itself would be built on. That realization, combined with a growing frustration working on Fusion 360 - I split a box using the fender, and couldn't figure out how to actually separate the two halves - I decided to go for a walk.
I realized that, yet again, my simple design would involve more work to pull off than I was able to give it. Additionally, the bike racks I use wouldn't allow room for a fender.
I thus jumped ship, and returned to the bedside tray that I had regretted neglecting during molding / casting week.
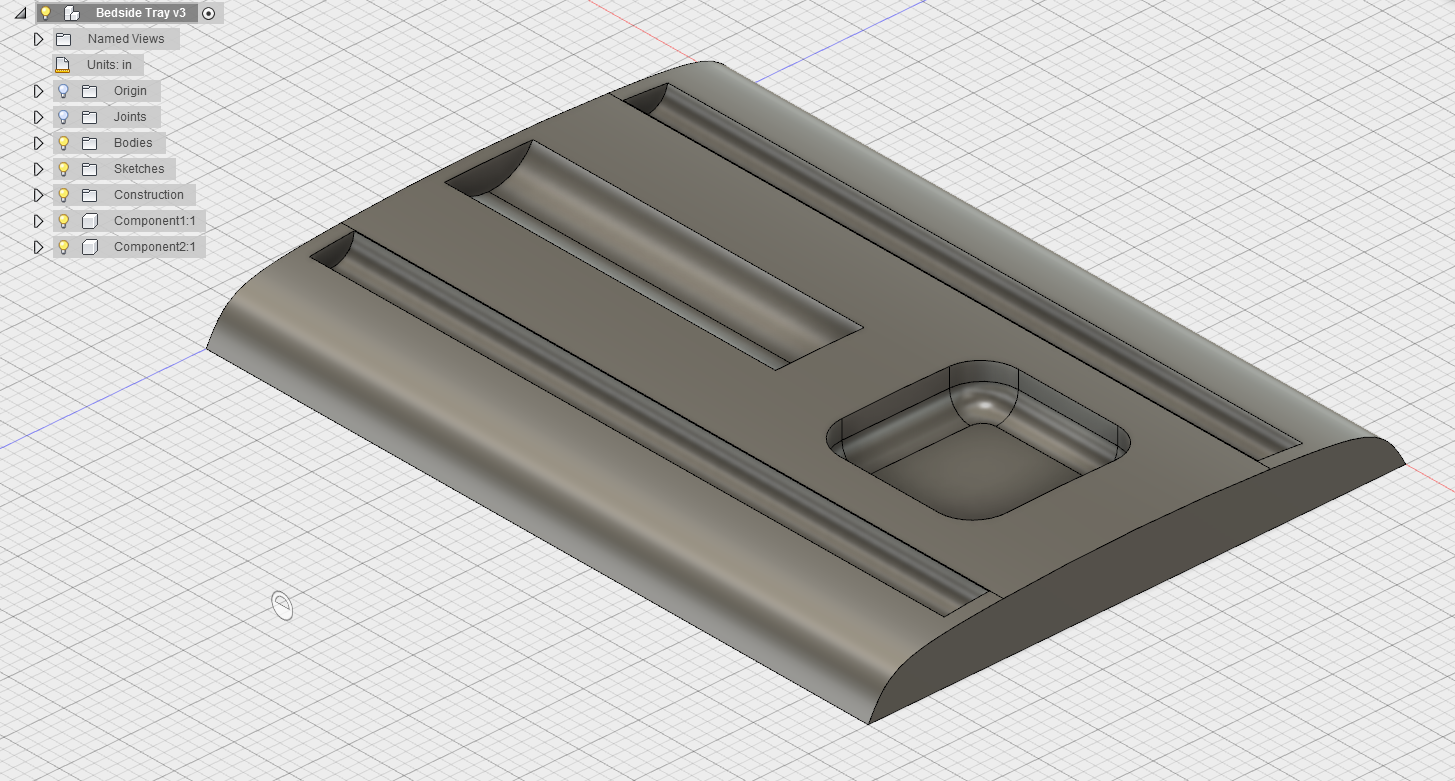
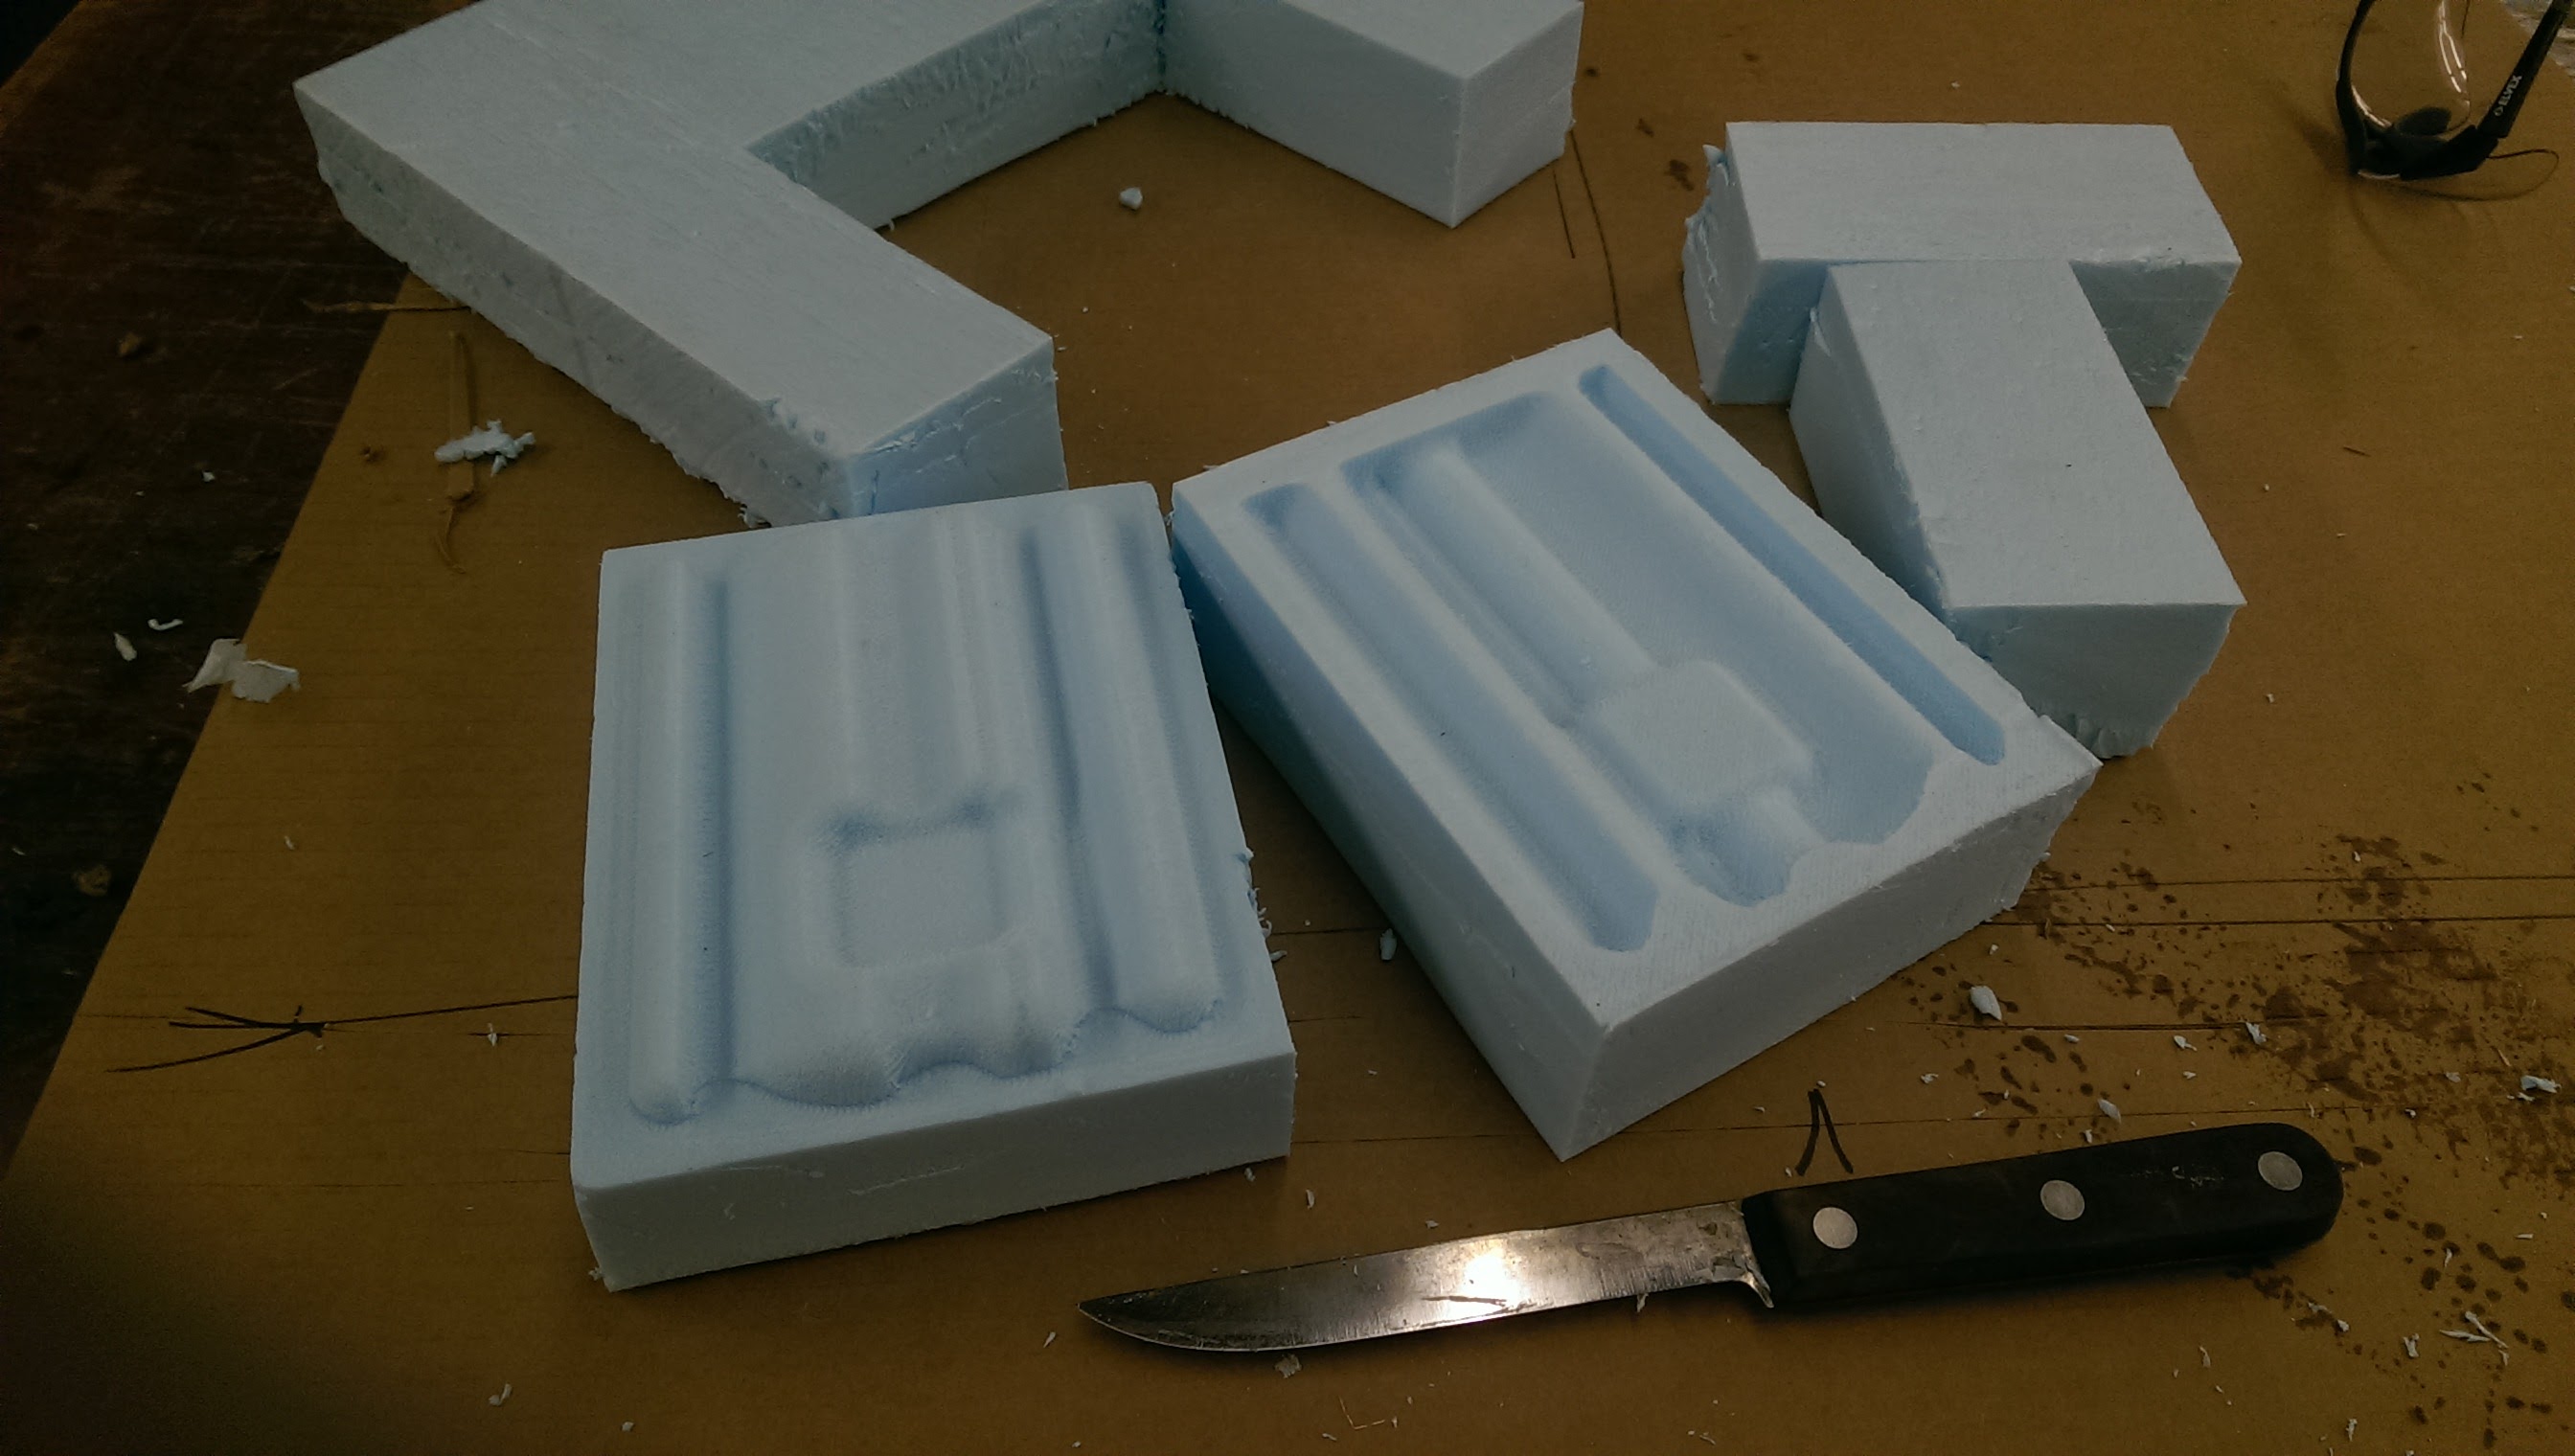
I knew the burlap composite wouldn't do well with the sharp angles of my indentations, so I modified the original design by drawing a spline along one side, roughly paralleling the trenches. I sliced off the top of the original design, and ended up with a much more curvy design. I then rounded off the corners and edges using a combination of fillets and revole-extrusions.
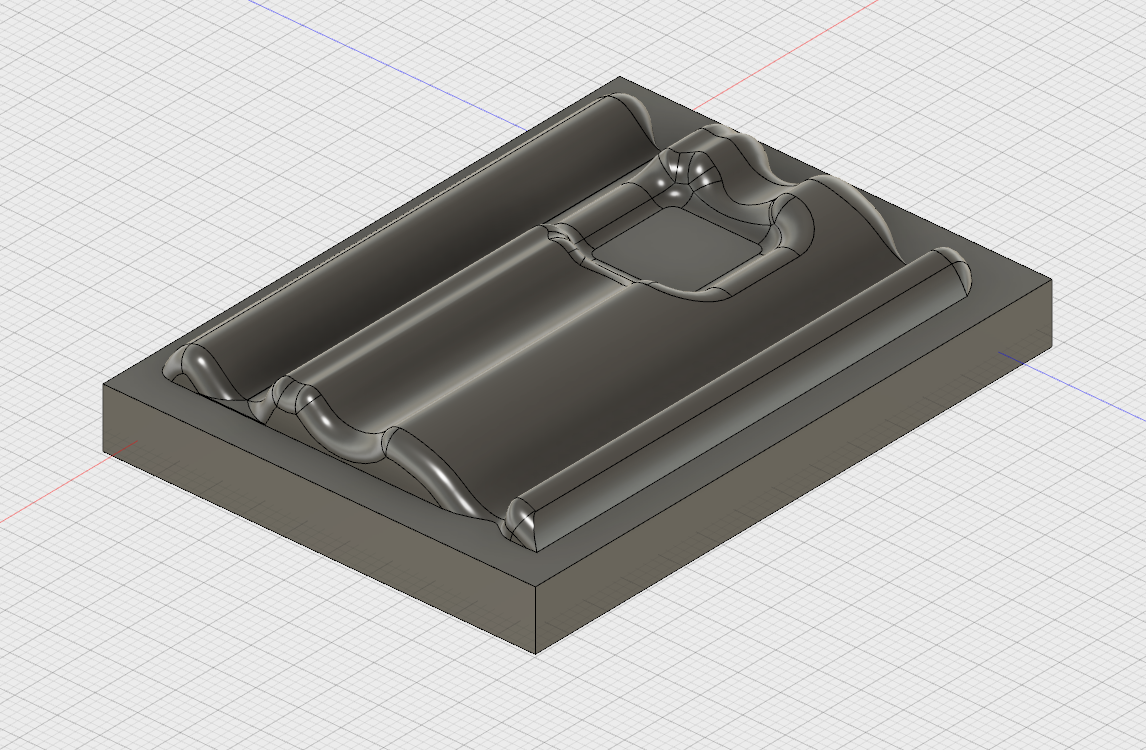
Finally, to create the negative, I cut the positive out of a block:
1. Create the positive of the object.
2. Create --> Box around your object. Under 'operation' on the create box dropdown, select "Create New Body." This box will become your negative.
3. Position the box where you'd like it relative to the object. Create the box.
4. Modify --> Combine. Select the box as your "Target Body", your positive as the "Tool Body." Select "Cut" under intersection. Check the box next to "Keep Tools," otherwise your positive will disappear. Click okay.
5. You now have a positive and a negative, they're just stuck together. Select the top body, move it off, and rotate it right-side up. Voila! A positive and a negative.

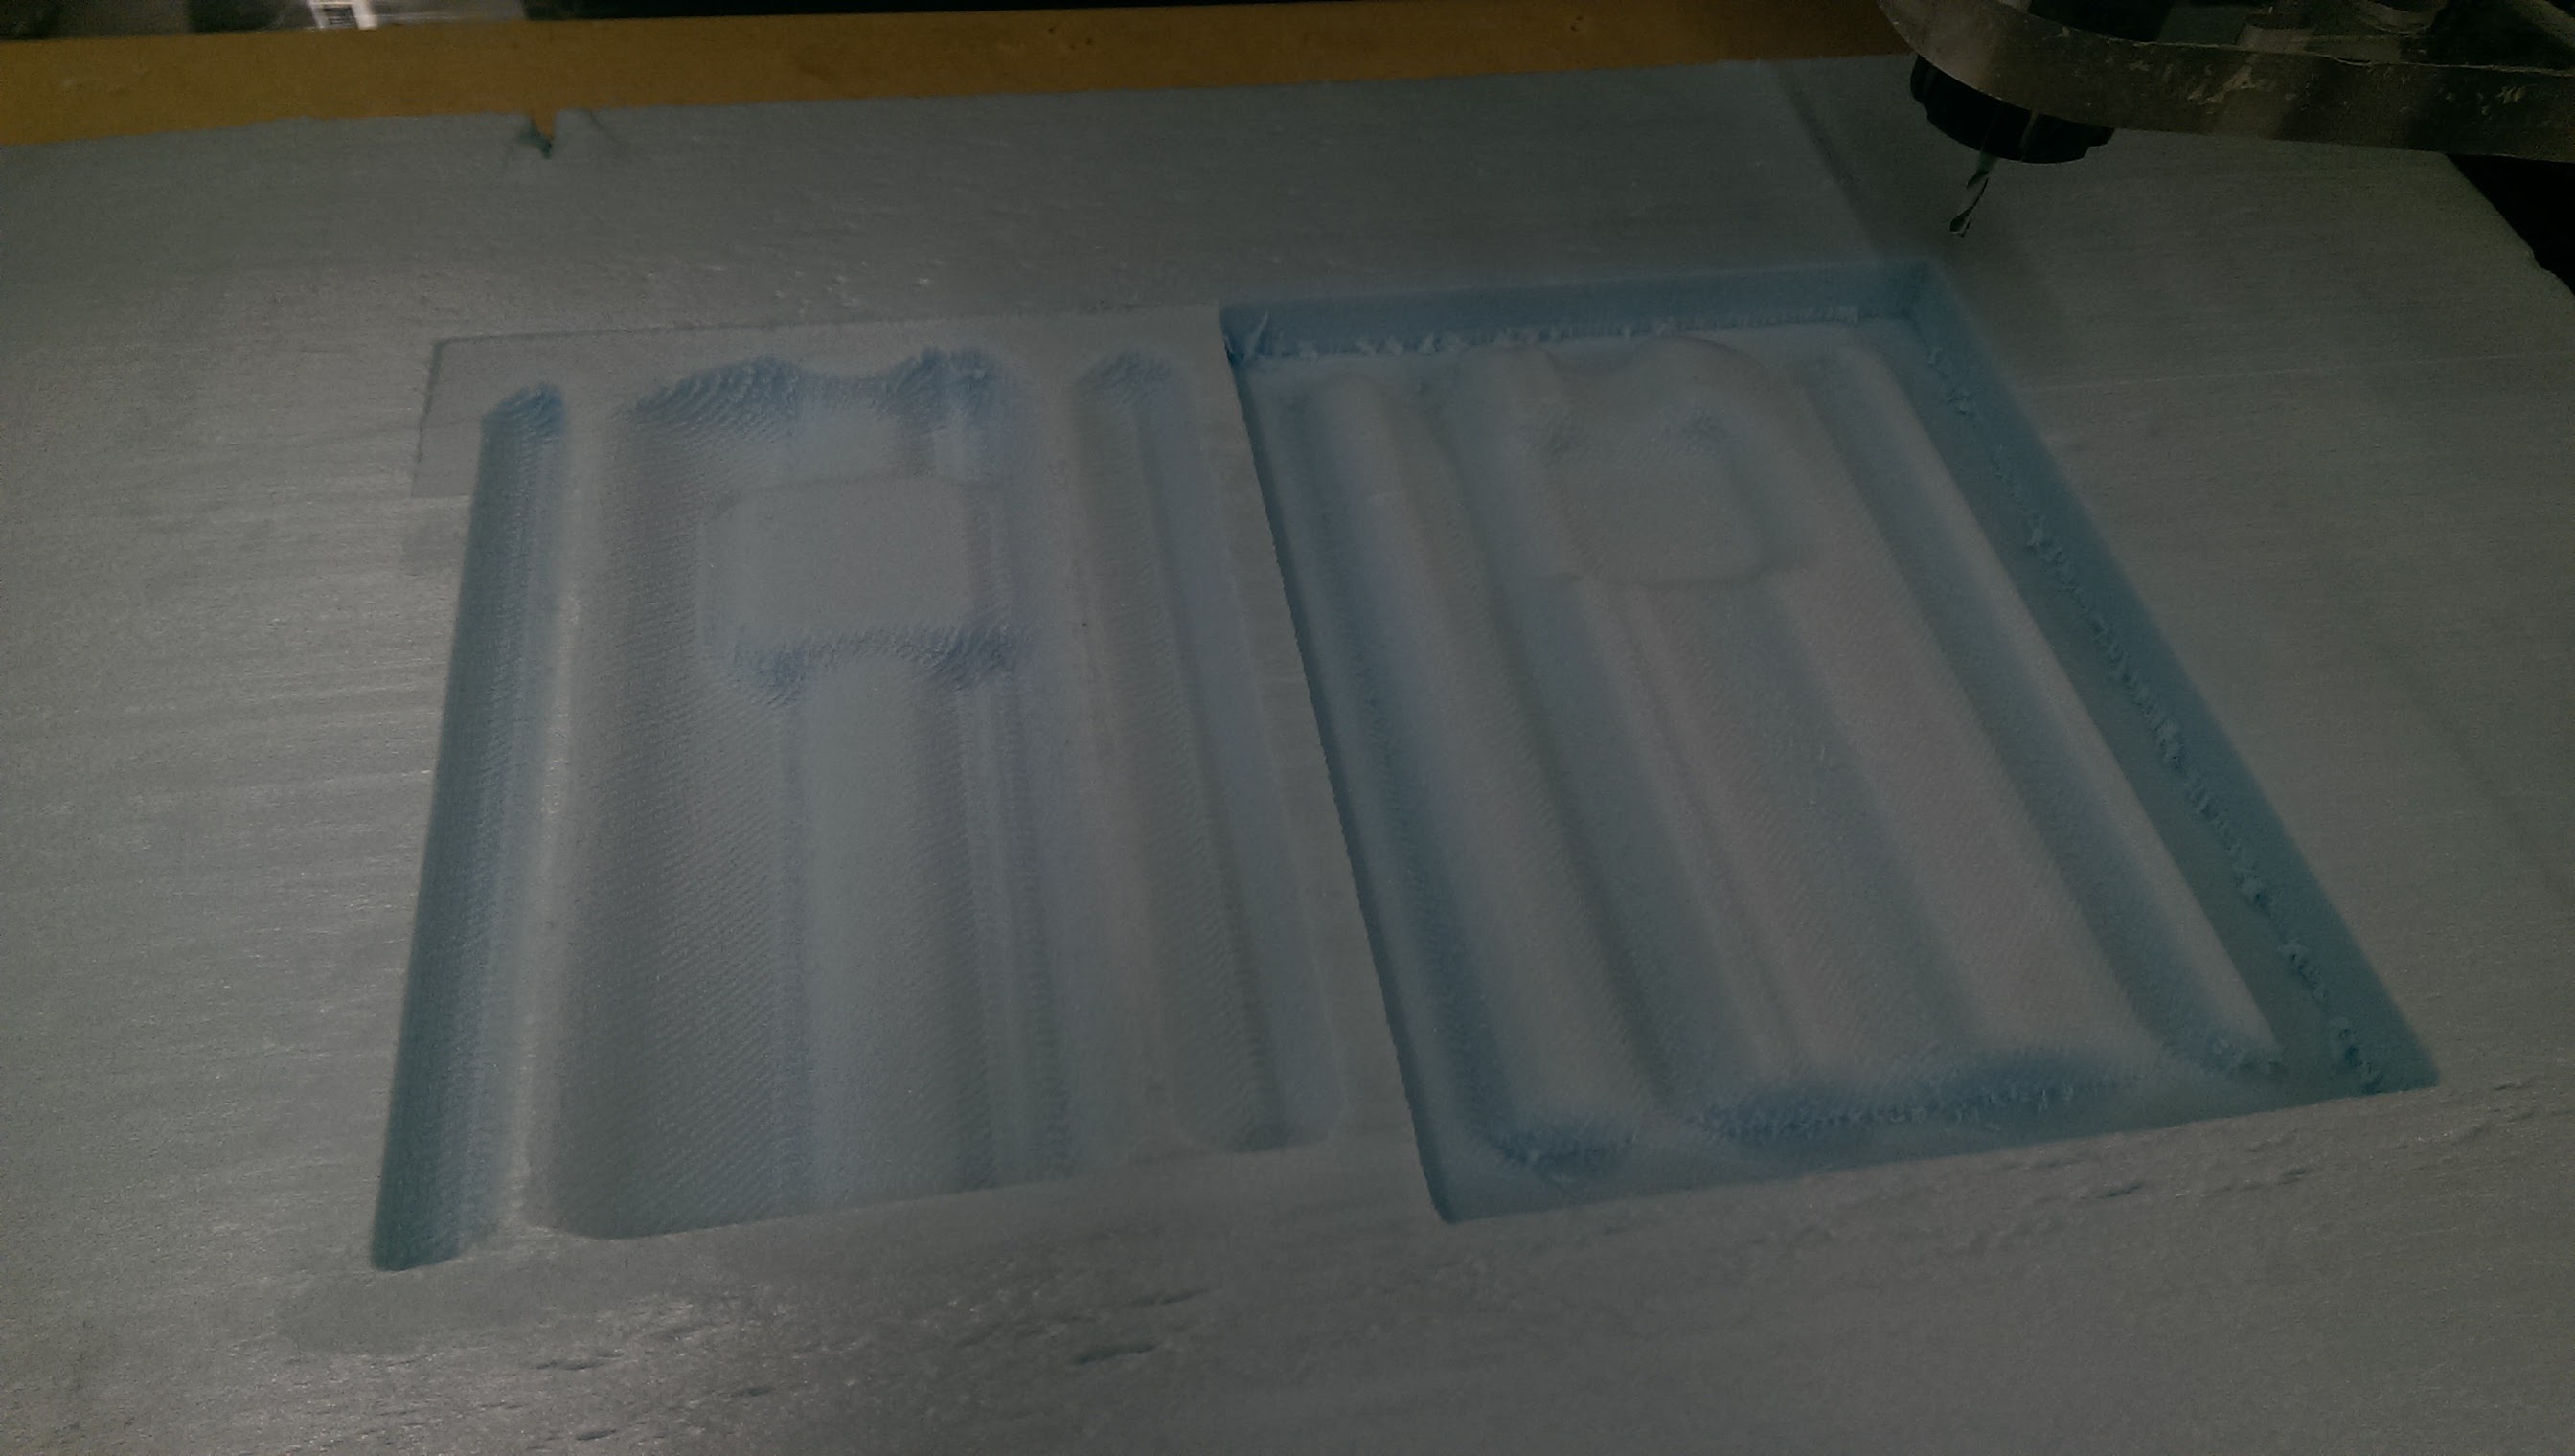
I exported the combined positive and negative as an STL, and used PartWorks3D to map out my toolpath, with an 1/8" endmill for both the rough and finishing passes. I didn't care too much about the finish quality, as I didn't think the burlap would pick up mild imperfections the way Oomoo and Drystone would. I set it to a 20% stepover to save some time, and skipped the 90-degree duplicatie finishing pass.
Even so, it still took over an hour to mill! I don't understand why the toolpath dug trenches in a rapid series of tiny back-and-forths, rather than in one direct swoop. The finish quality (on one side, anyway, I suppose the spinning endmill might chew up the other side?) would be better in many circumstances, and it would be MUCH faster. Anyway. It milled.
Next step: cut the positive apart from the negative. DO NOT use a power-tool, or even a serrated blade. Use a sharpened kitchen knife, like a fillet knife, and cut with an evenly-pressured sawing motion. If you go too aggressively, the material will catch and pull, but done right, it cuts nice and smooth.
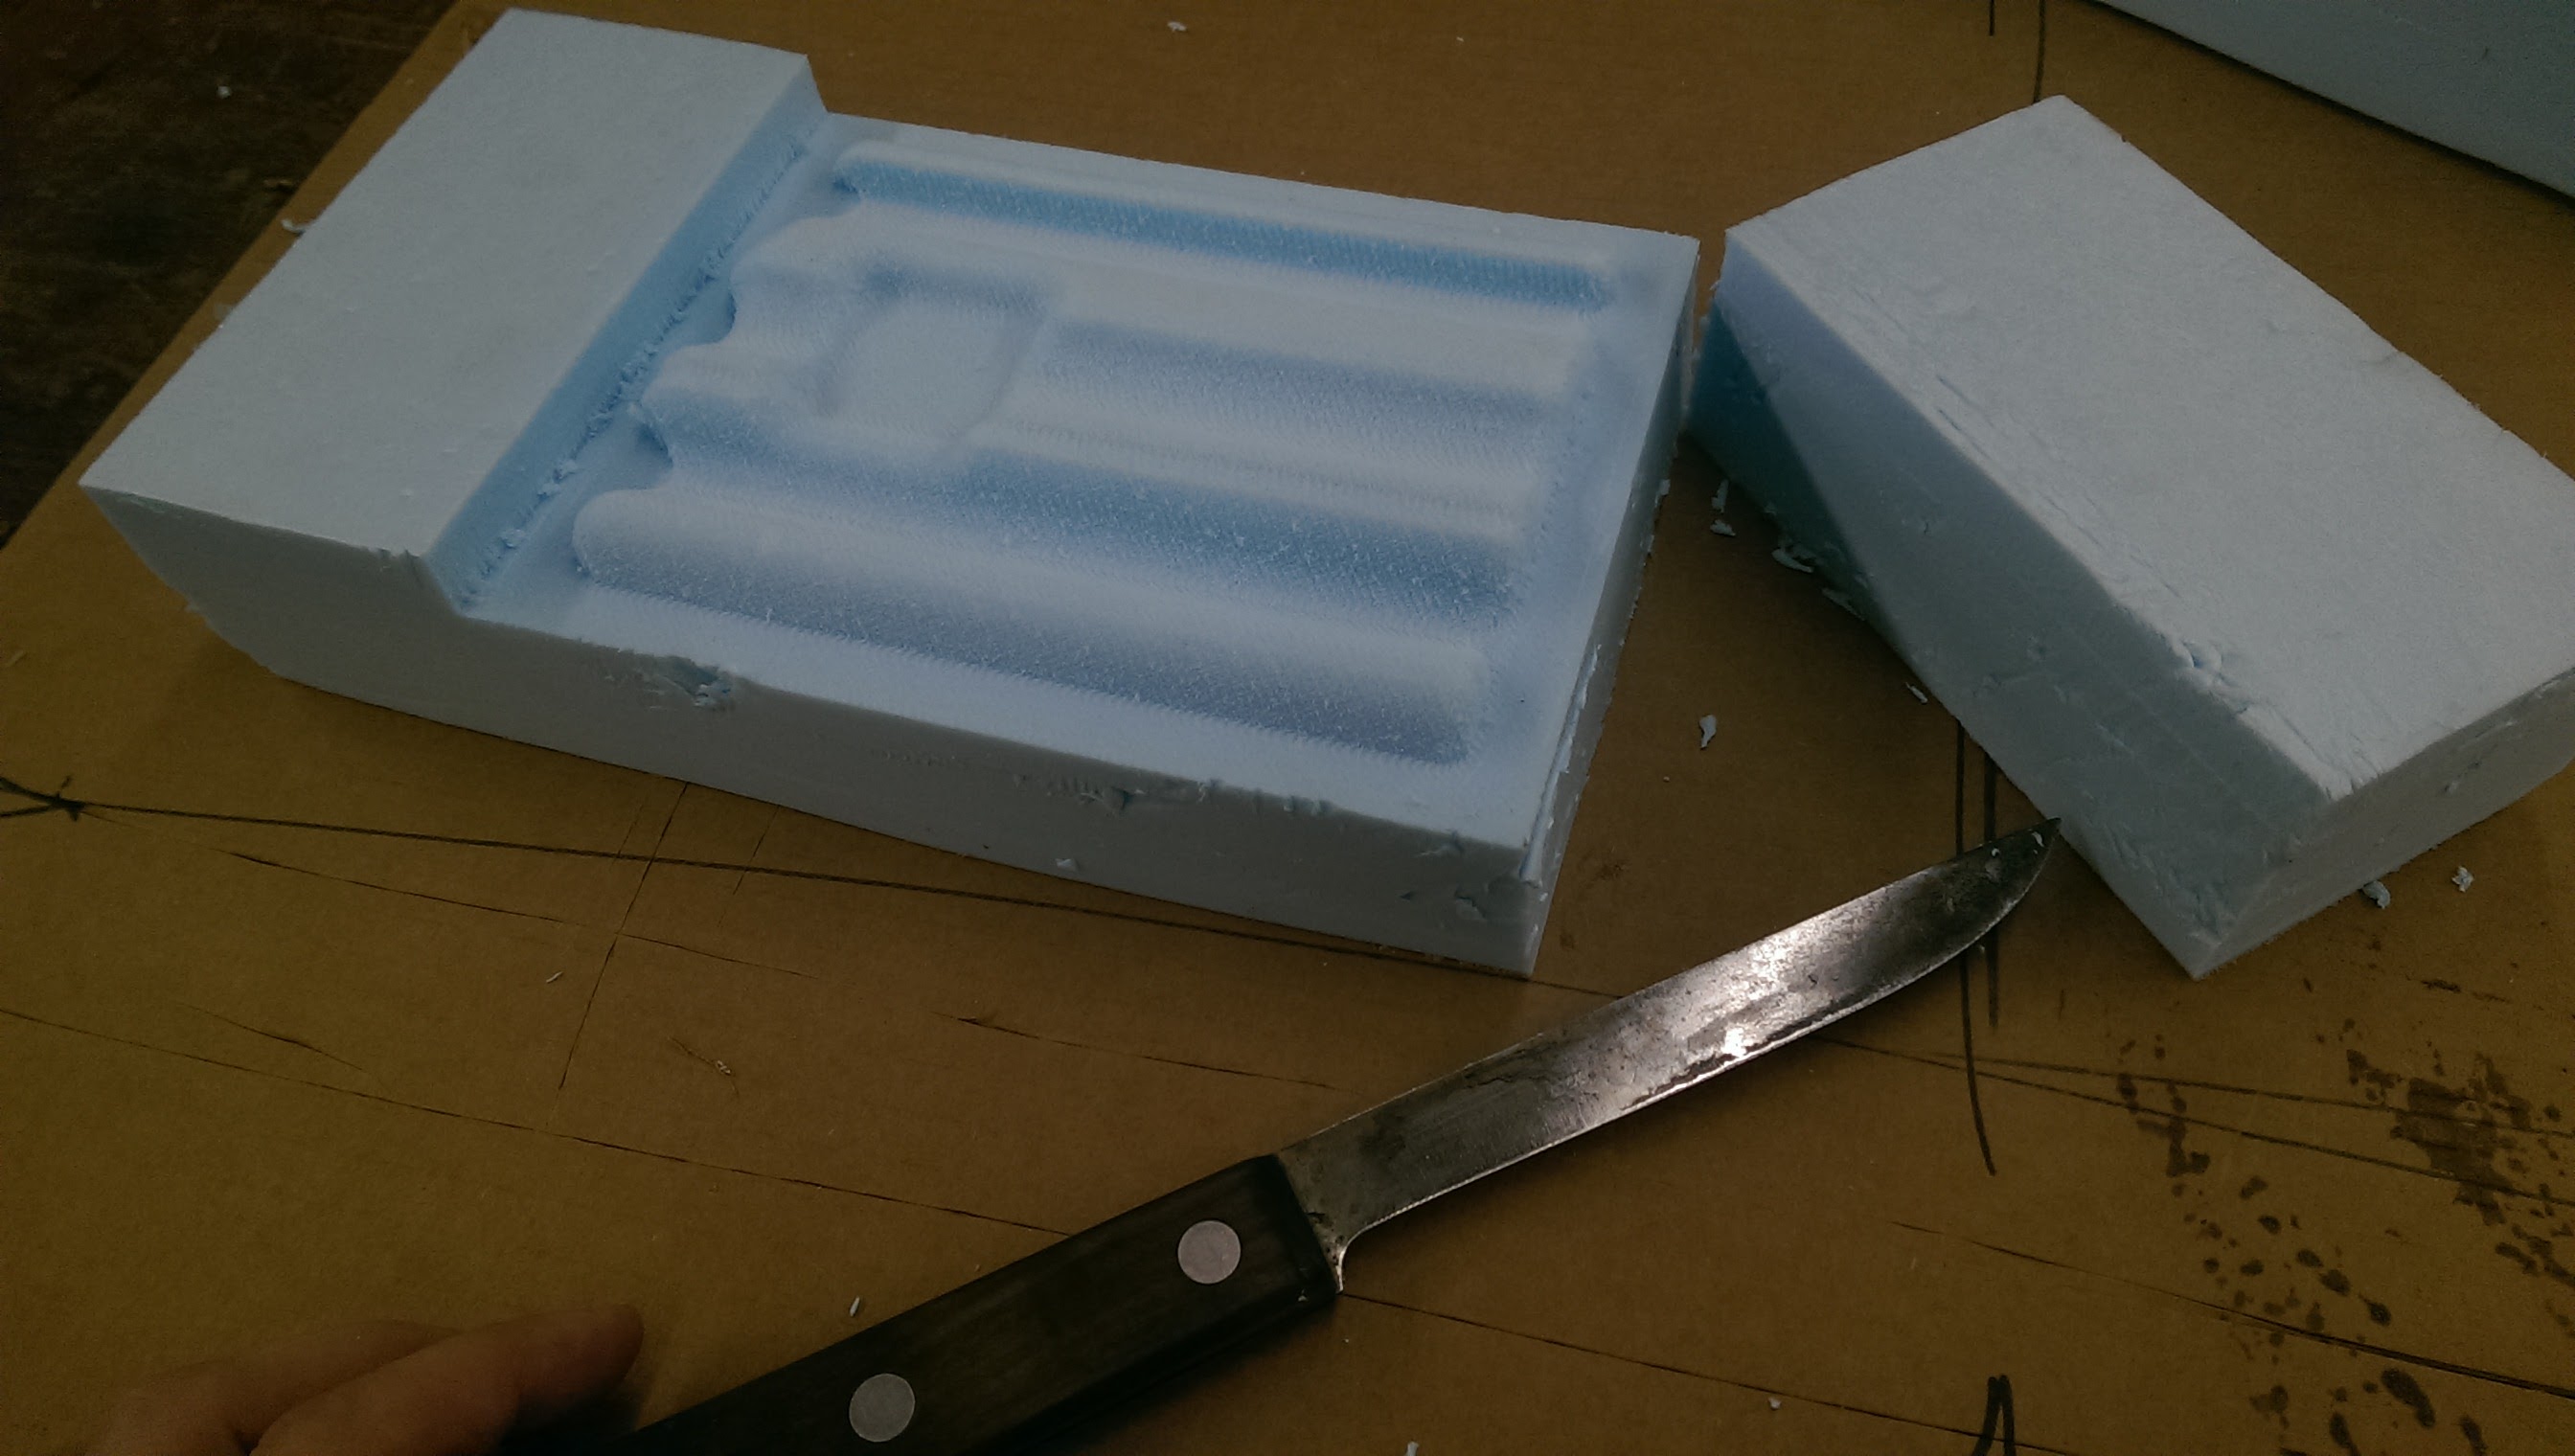
The positive and the negative were a perfect fit!
I realized that it would mean a tight squeeze for something as thick as burlap, and wondered if the design would've been better if the negative had been shaved down slightly to account for the thickness of the material. Though, as it was, it'd apply more pressure. So ... not sure which is the better idea.
I found a few small squares of linen, and realized they'd be a much thinner compsite! A bedtray doesn't have to support any loads really, so I had no problem keeping it thin. I cut the linen to much larger than the side of the tray, so it would wick out any excess epoxy - since I knew I wouldn't be able to use a bleeder-breather with the two-sided mold.
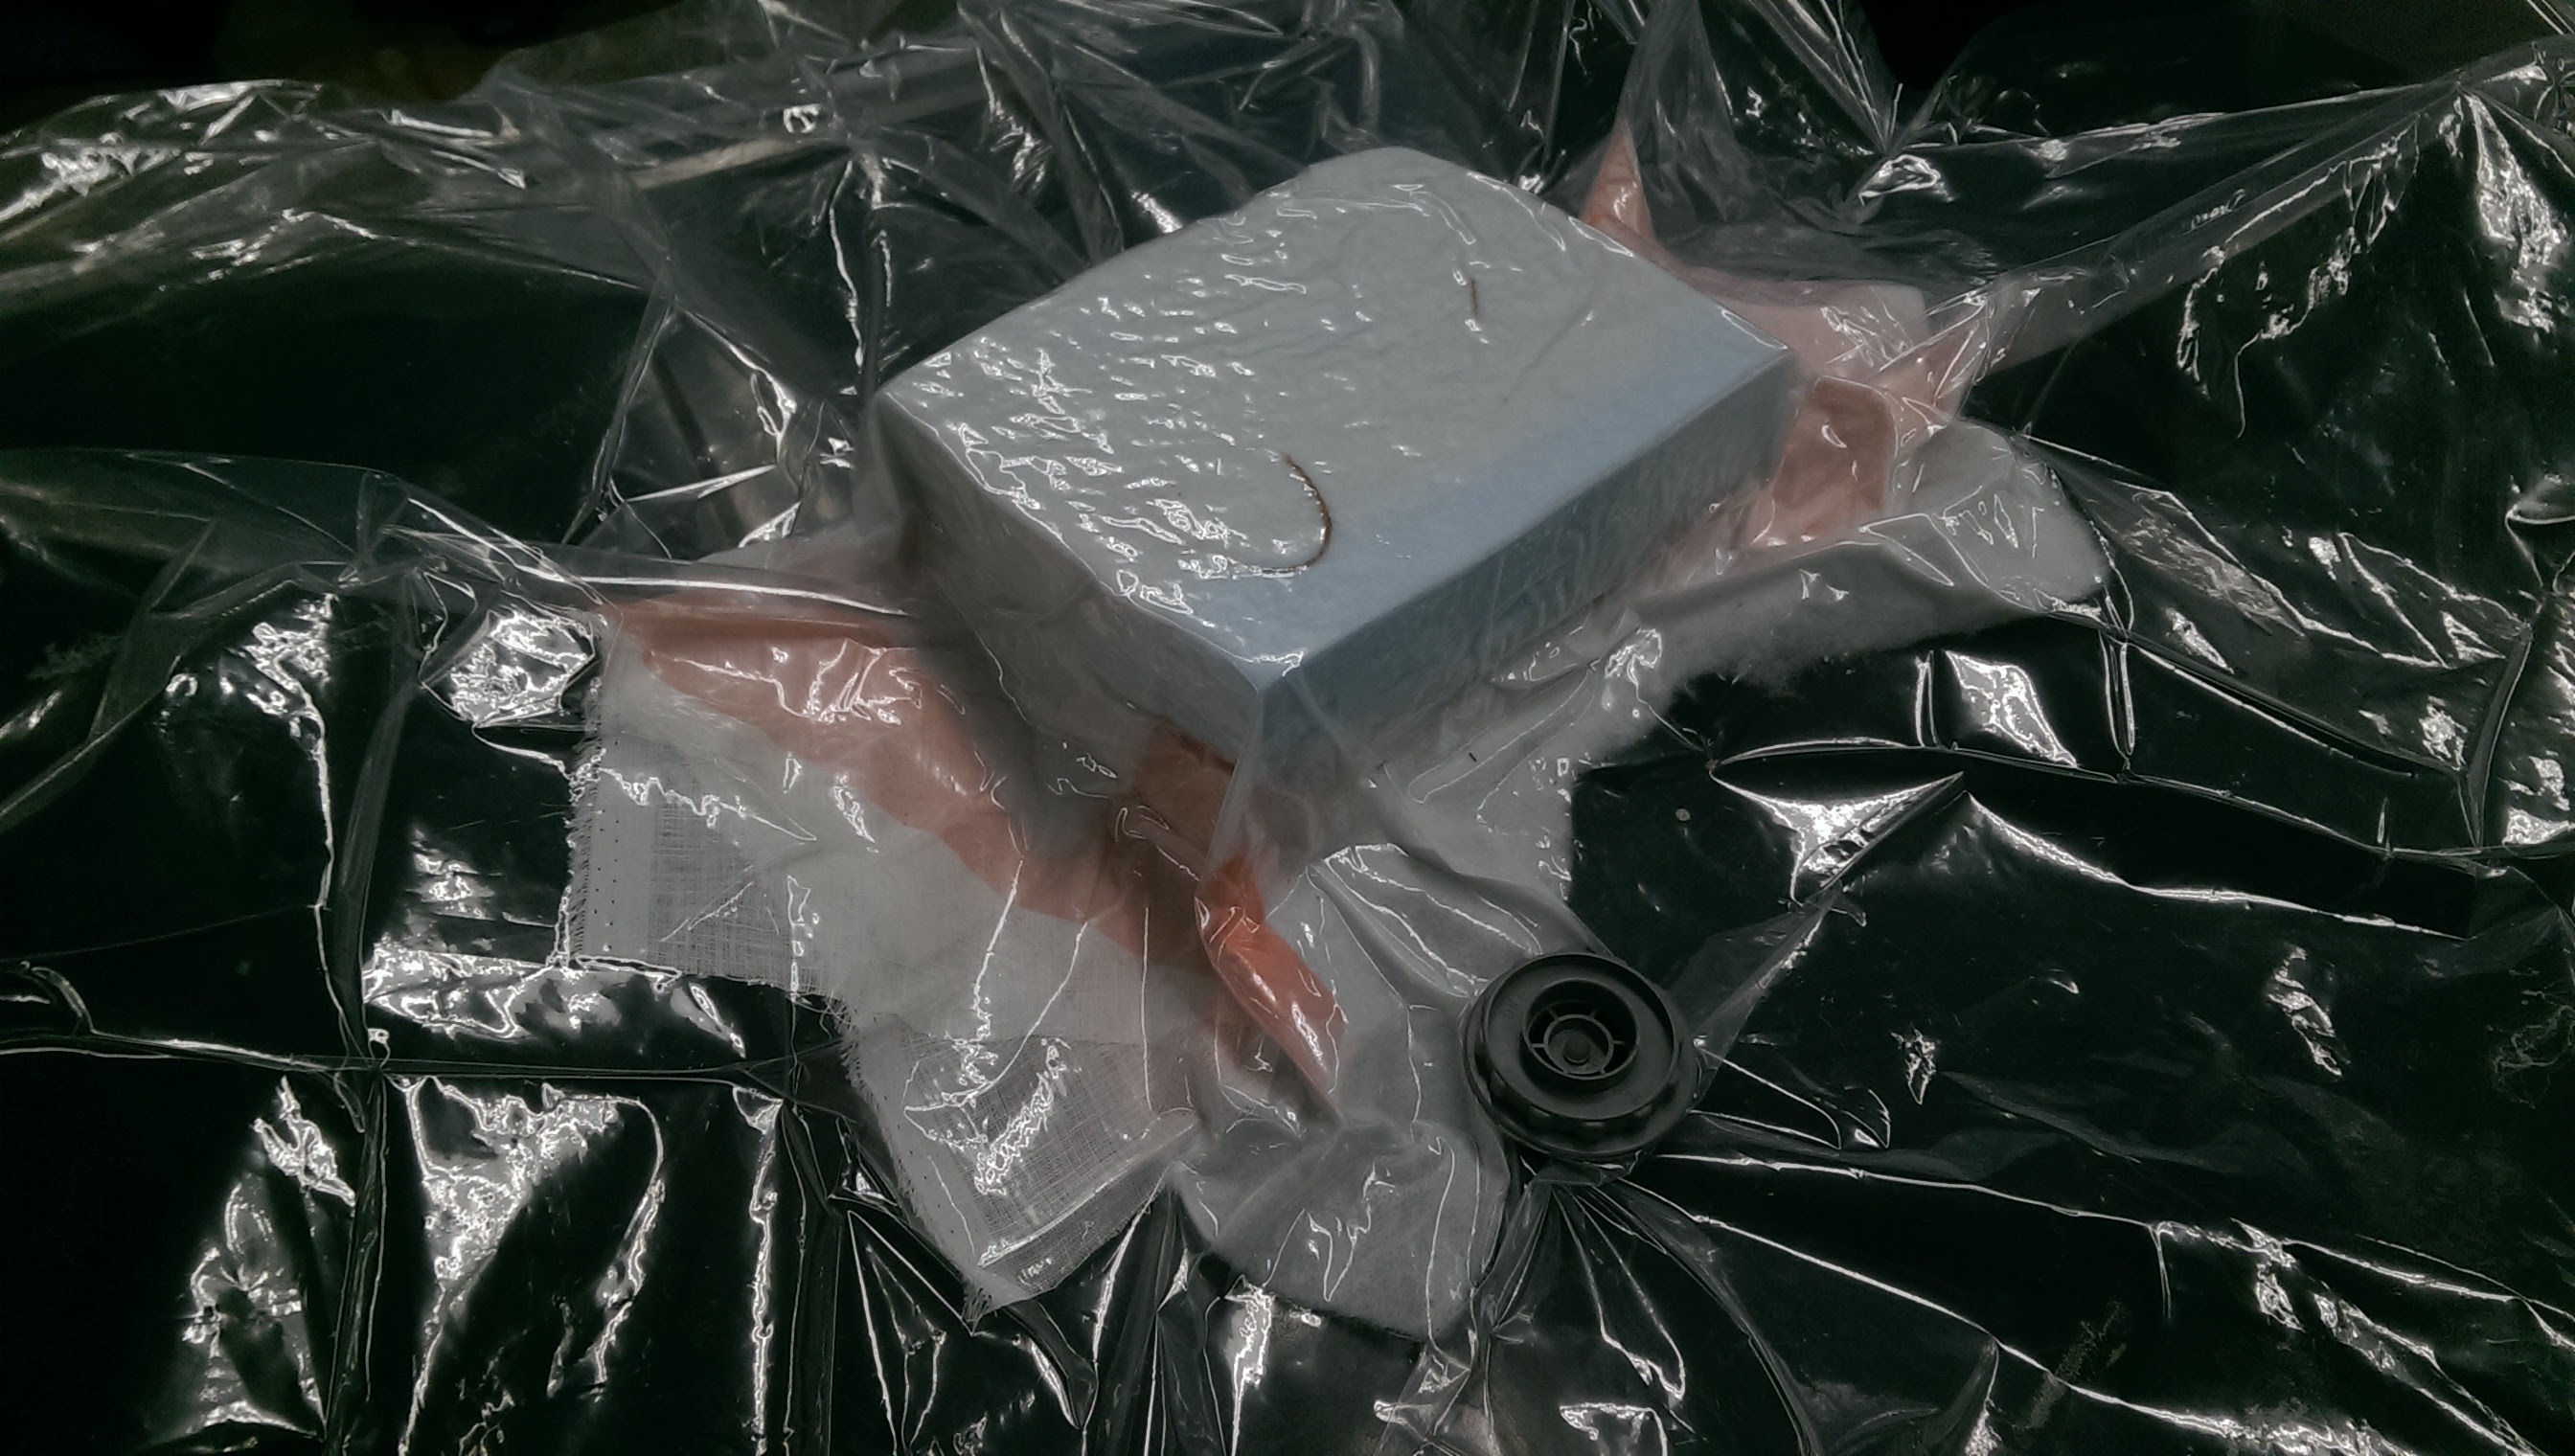
I mixed Entropy Resin's Super Sap One (mix it for 5 solid minutes) and squeegied it over my linen. I put our mold-release film (I missed getting its name) down on the negative first. Next, the first layer of epoxy-infused linen. Next, the second sheet of linen at a 45 degree angle, to get more threads running in more directions for greater rigidity. I tried my best to keep bubbles of separation forming between the two layers. The second layer of release film, followed by a (cotton? polyester?) batten, completed the sandwich.
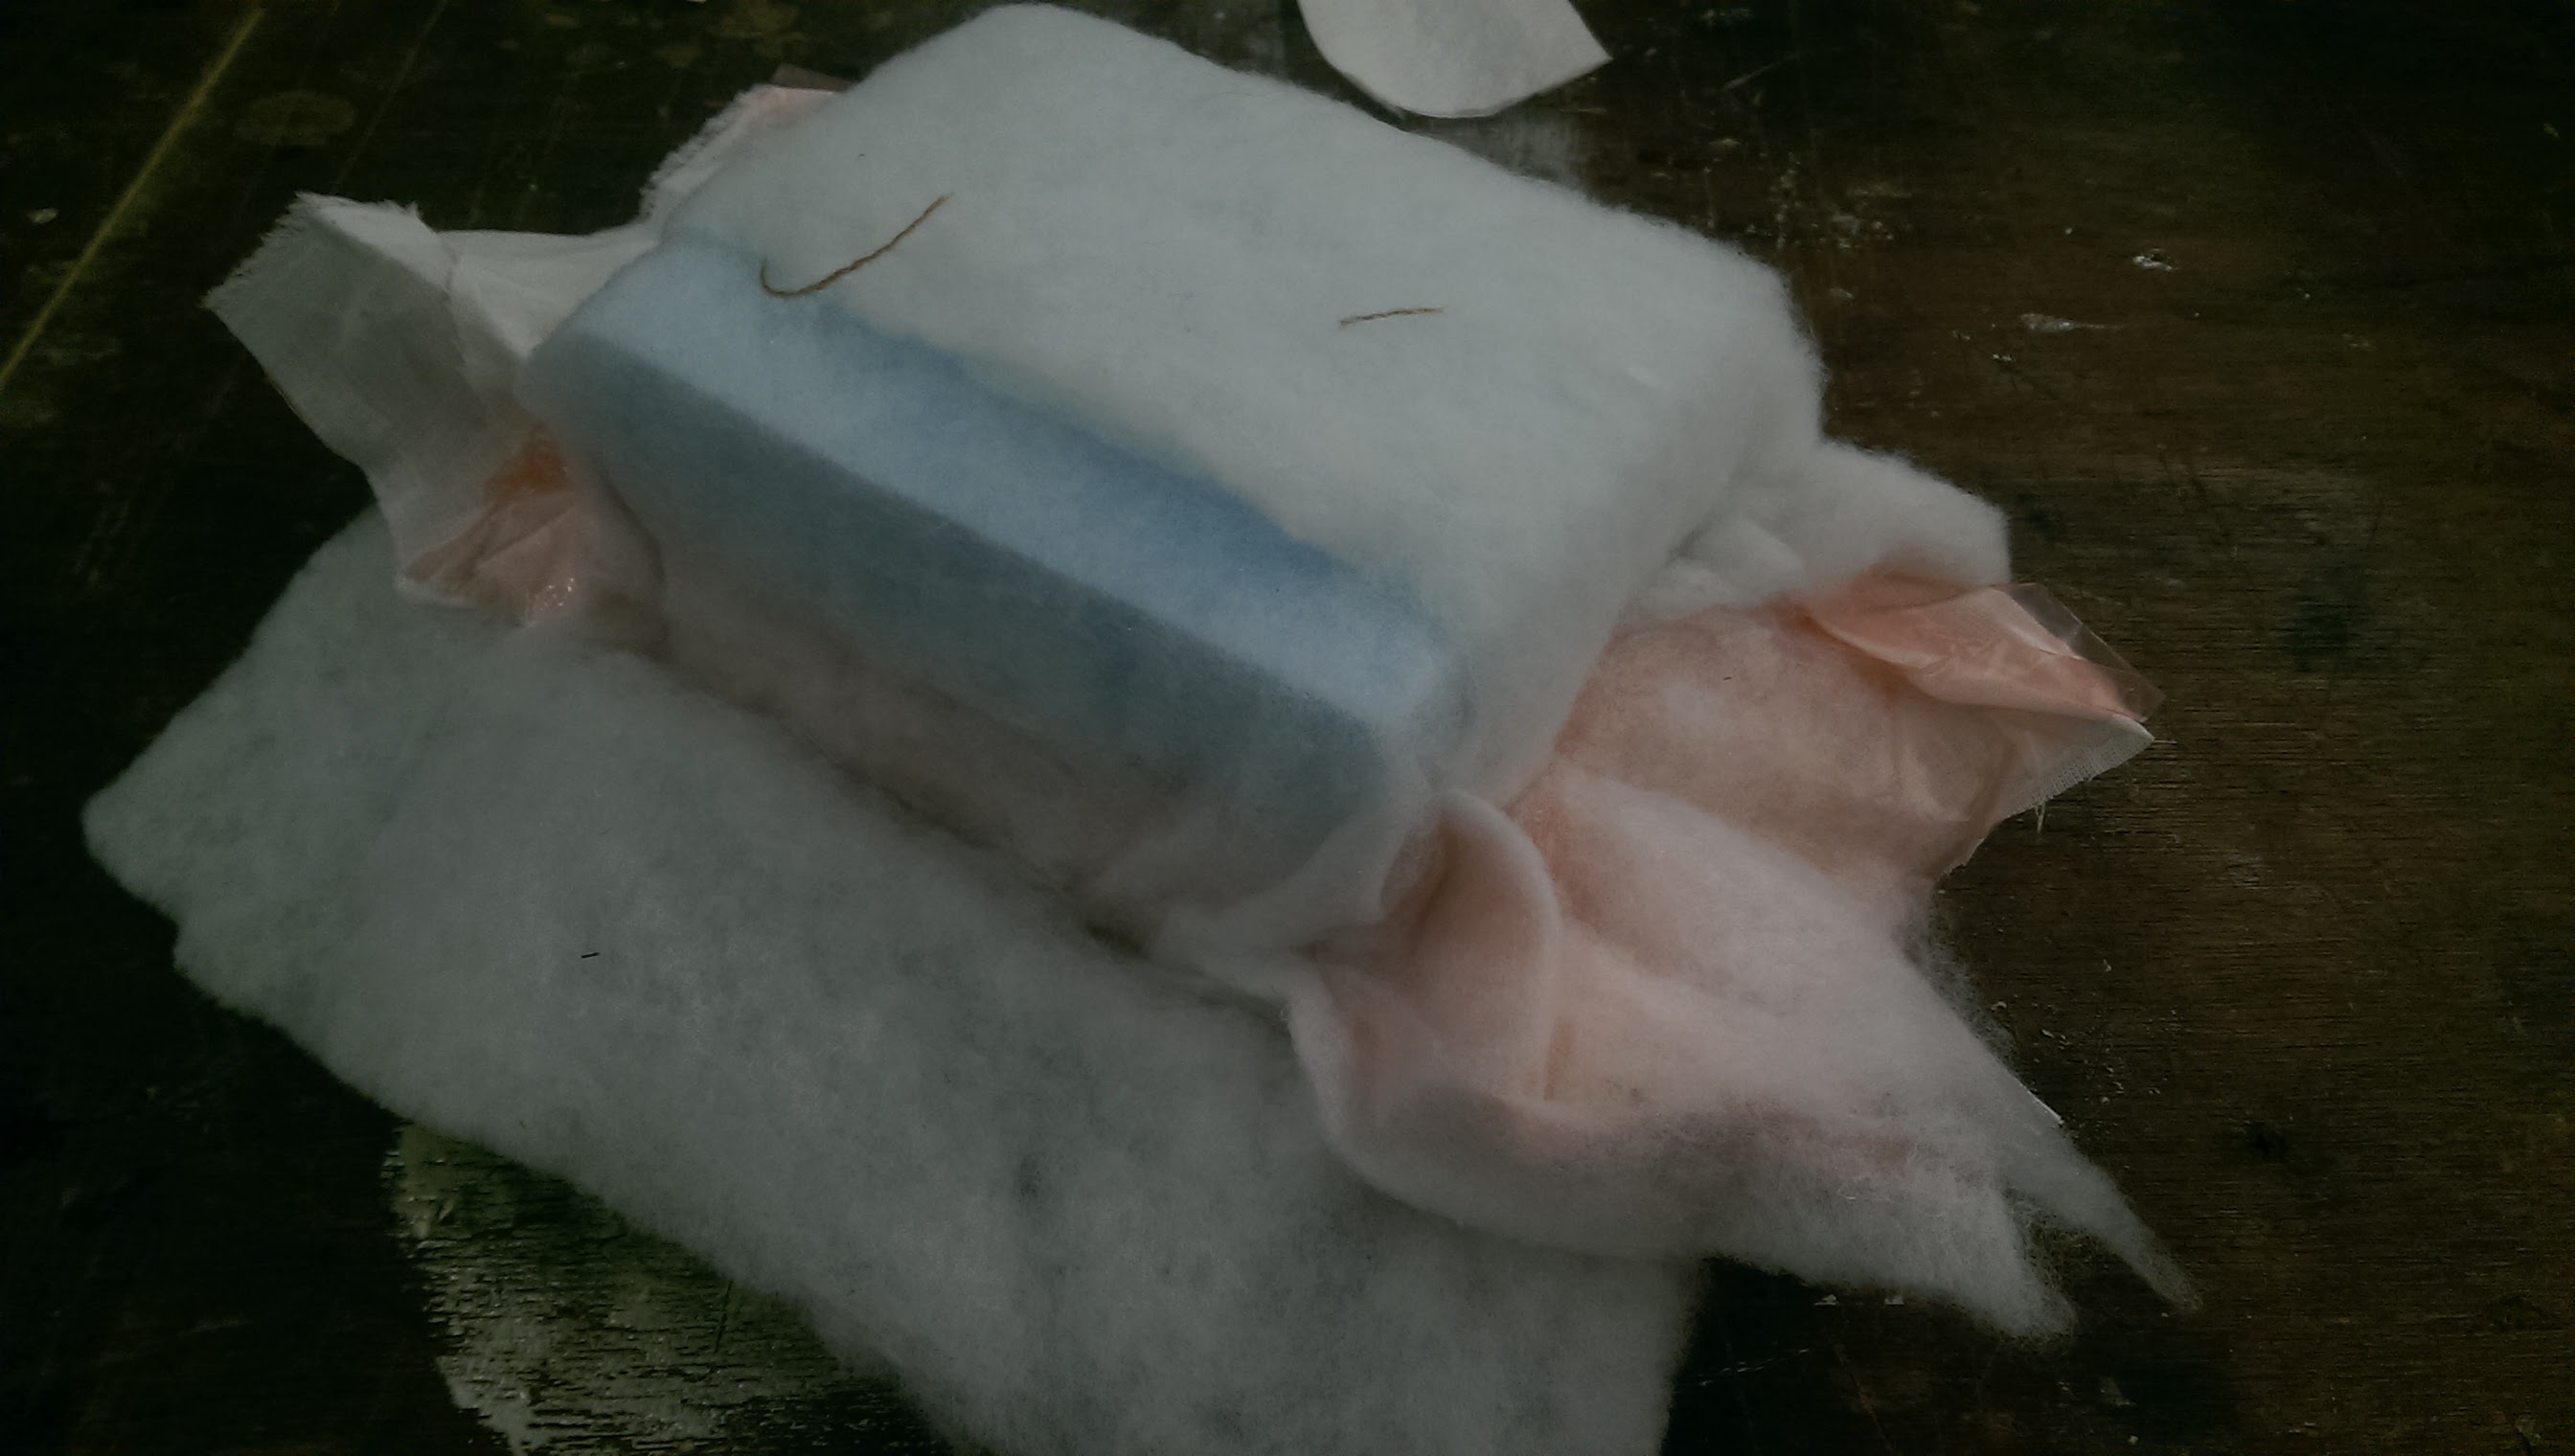
I was going to use wood clamps, but some quick math told me a good vacuum bag would probably be more effective. Atmospheric pressure of 14.7 psi x (6" x 5") = 441 pounds of force. Vacuum bag away!
I let it dry overnight, and cracked it open the next day:
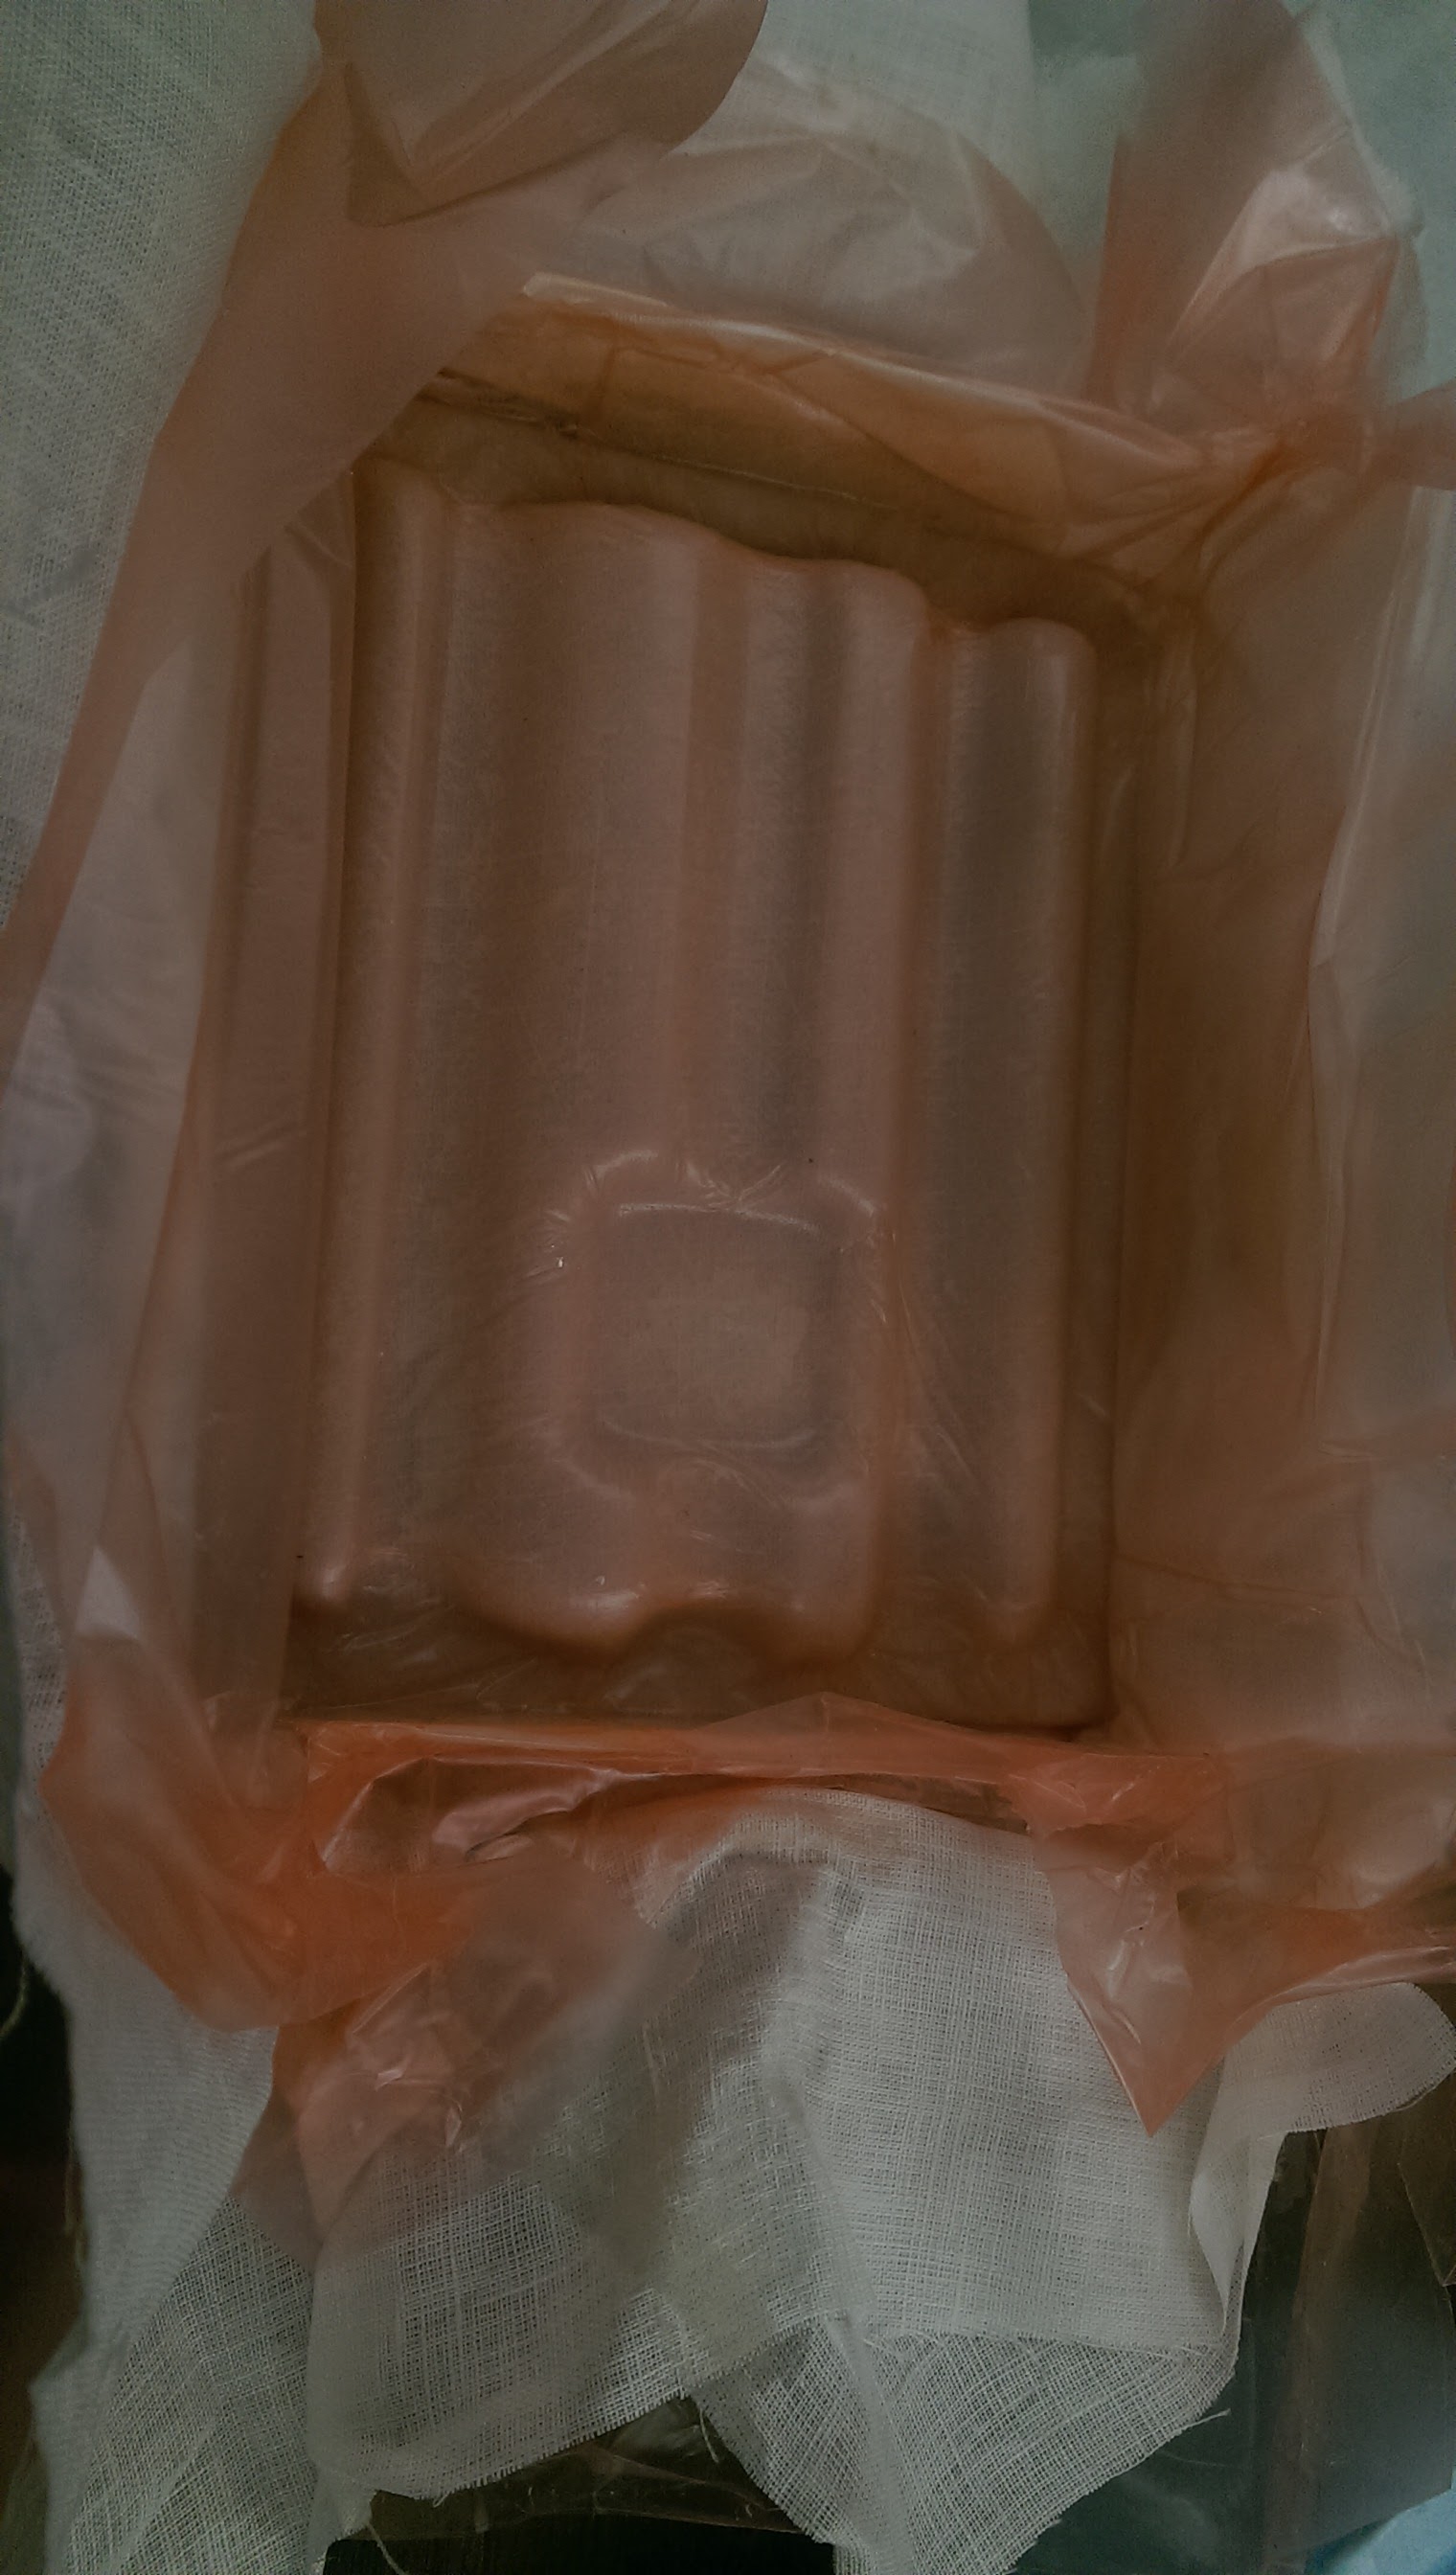
There was excess material to trim, but overall, the resolution wasn't bad! There were some wrinkles around the more complex curves, but that was to be expected. Scissors and tin snips did a good rough cut ...
... and an impressive metal shear (basically, a paper cutter for metal) trimmed it down to size.
Some emory paper cleaned up the edges and corners ...
... and it's good to go!
I'd like to fill it with something, either an Oomoo-type thing, or wax, to give it some weight, and to deaden the current snare drum-effect you get anytime you touch it with something hard ... like, say, a pen. I'd also like to paint it, as it's currently the color of soiled linen. Because, basically, it is. Always more to do!